Table of contents

counselor
workshop
Adjust shift and brake levers
Adjust shift and brake levers
Adjust shift and brake levers
The levers have to be positioned correctly so that shifting and braking are playfully easy.
02/25/2003
The levers must be correctly positioned so that shifting and braking is playfully easy.
THAT’S WHAT THE DRIVER NEEDS
The tools required for setting can be found in the on-board tool kit, even if the quality is usually not exactly overwhelming. It is best to use a ring spanner to protect the screw heads. The spray oil is used to lubricate the joints. Sometimes a screwdriver is also useful to carefully widen the gear or brake levers at the teeth so that they can be easily removed from the shaft
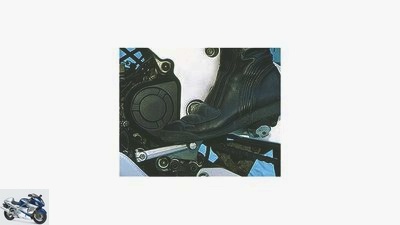
1. To check the optimal position of the gear lever, sit in a normal position on the jacked up motorcycle. Then it must be possible to place the foot loosely above and below the gearshift lever without having to remove the detent. If in doubt, it is better to set the gear lever a little higher, this brings more freedom from lean angles.
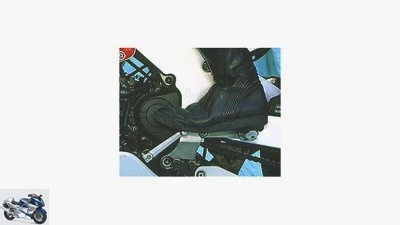
2. It is uncomfortable if the gearshift lever is set too high because then the foot has to be pulled up extremely high or even completely taken off the notch when downshifting, which leads to fatigue and cramping of the calf muscles. It should be noted that many motorcycle boots restrict the freedom of movement of the foot.
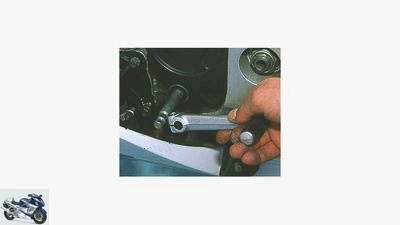
3. On most machines, the switching lever can be pulled off after loosening and pulling out the clamping screw and pushed it back onto the toothing in an offset manner. Sports machines or choppers sometimes have an adjustable linkage so that the position can be changed quickly without removing the lever.
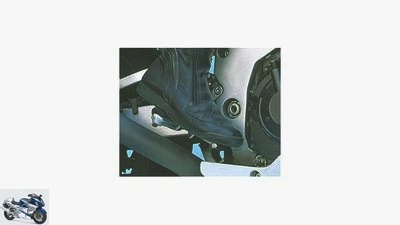
4th. The same applies to the brake lever as to the gearshift lever. The foot only finds it quickly if it does not have to be turned or removed from the notch. However, the pedal should not be too low, otherwise it can touch down in an inclined position. The position is adjusted using a stop screw or the linkage of the brake cylinder.
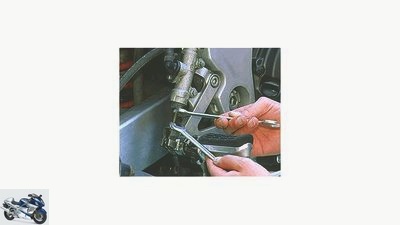
5. After a change, the play on the brake cylinder must be checked. It should be possible to press the tip of the foot pedal at least two centimeters down to the pressure point. The joint between the lever and the linkage must always have play when the pedal is relieved, otherwise the brake could not release correctly and overheat.
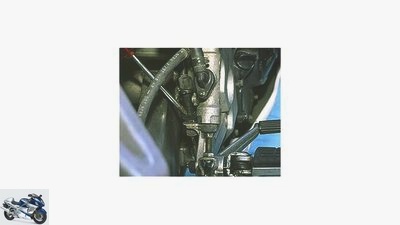
6th. When the correct position of the brake lever has been found and the play has also been set correctly, check the function of the brake light switch and correct it if necessary. The brake light should only light up shortly before the pressure point is reached. Tighten the nuts carefully as the plastic threads are delicate.
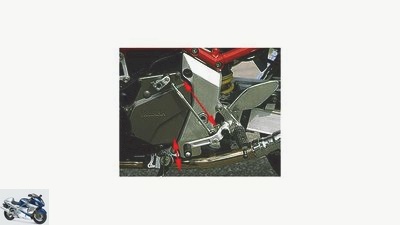
The shift lever position can be easily adjusted on the linkage
There’s still that too!
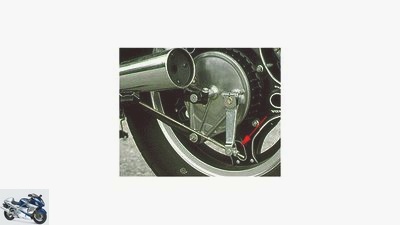
Most modern motorcycles have hydraulic disc brakes, but old and youngtimers often have drum brakes at the front and / or rear. After a new setting of the pedal, the free travel must also be adjusted here. This is done by a nut at the end of the brake cable or linkage (arrow). It should be possible to press the pedal at least two centimeters without resistance until the pressure point is reached. The position of the lever on the brake anchor plate must not be changed. To ensure this, some manufacturers have placed specially shaped metal sheets underneath.
Related articles
-
Brake and clutch levers care and replacement
Schermer counselor workshop Brake and clutch levers care and replacement Workshop: hand lever maintenance and new acquisition Brake and clutch levers…
-
Triumph patent: foot levers that can be adjusted without tools
Triumph Motorcycles 4th pictures Triumph Motorcycles 1/4 The footrest # 22 is still hinged on the brake lever # 20. For the tool-free adjustment system,…
-
Photo: fact, cook 20th pictures Cook 1/20 …which we have secured against twisting with an M4 worm screw and a fixing hole. fact 2/20 Only when the boot…
-
Mitterbauer 22nd pictures Cook 1/22 Gearbox components: The gearbox input shaft (1) transfers the power to the output shaft (2). The chain pinion is…
-
Triumph Speed Twin recall: shift linkage can come loose
triumph. counselor traffic & business Triumph Speed Twin recall: shift linkage can come loose Triumph Speed Twin recall Shift linkage can come loose…
-
PS reader question about ergonomics on the motorcycle
jkuenstle.de Sports & scene Motorsport PS reader question about ergonomics on the motorcycle PS reader question about ergonomics on the motorcycle Sits,…
-
Change brake discs yourself – tips and tricks
Markus Jahn 9 pictures Ralf Schneider 1/9 There is a need for action here! The heat spots on the panes shown on the left can certainly no longer be…
-
jkuenstle.de counselor workshop Working on the drum brake Working on the drum brake Not only a disc brake needs care You are completely isolated from the…
-
Yamaha recall: brake light switch causes problems
fact counselor traffic & business Yamaha recall: brake light switch causes problems Yamaha recall Brake light switch causes problems Yamaha has had to…
-
Recall Zero SR-S and SR-F: Brake light switch can fail
zero counselor traffic & business Recall Zero SR / S and SR / F: Brake light switch can fail Callback for Zero SR / S and SR / F Brake light switch can…