Table of contents
Bilski
16 pictures
Bilski
1/16
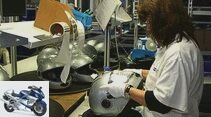
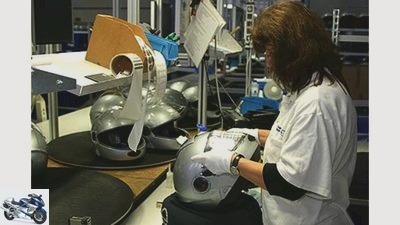
(8) The outer shells of the thermoplastic helmets are roughened by hand…
Bilski
2/16
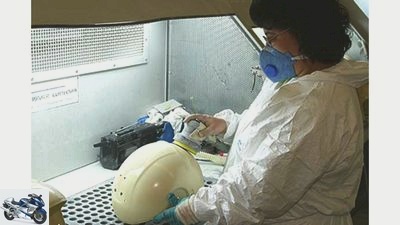
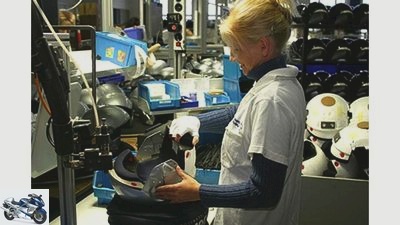
(12) The inner parts of the helmets are also prepared parallel to the outer shell. Here, for example, foam pads of different thicknesses are glued to EPS (Styrofoam) cheek parts, depending on the helmet size.
Bilski
3/16
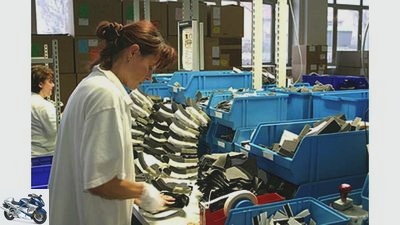
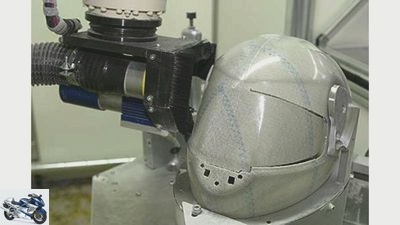
(5) The raw helmet shell is baked in just under 10 minutes using the hot pressing process. A robot then cuts out the field of vision and drills all the holes and recesses that are still required for processing.
Bilski
4/16
…then all safety and function stickers attached (16).
Bilski
5/16
(2) The cut-out mats are placed on a helmet shape by an employee and are shot at with fiberglass snippets fully automatically.
Bilski
6/16
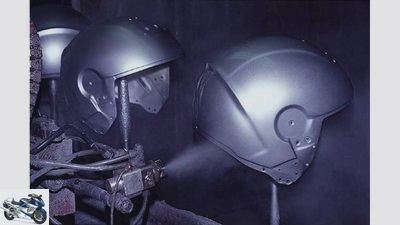
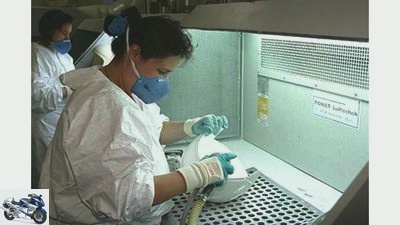
…to make them more adhesive for the following fully automatic painting process (9).
Bilski
7/16
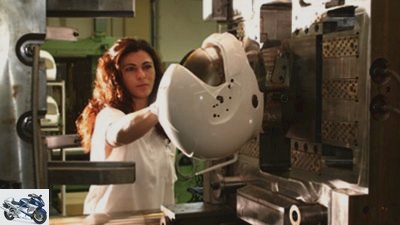
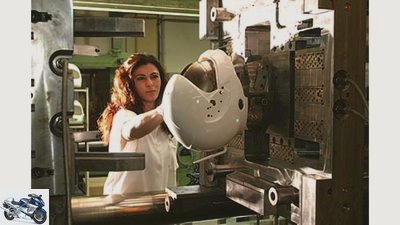
(7) With the cheaper thermoplastic helmets, the entire outer shell is created in a single work step. Injection molding machines liquefy the raw material (plastic granulate) and inject it into a highly polished mold. The outer shell is created at 300 degrees Celsius and a pressure of 8 tons.
Bilski
8/16
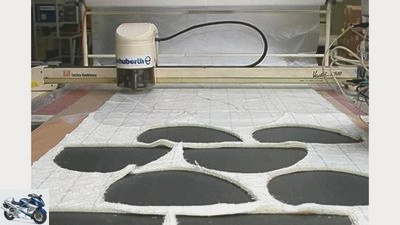
(1) The basic material for helmets is divided into two groups: thermoplastics and thermosets. In the manufacture of the helmets, however, they only differ in the manufacture of the outer shell. In the case of thermosets, a machine first cuts the required shapes out of multi-layer mats made of glass fiber, carbon fiber or aramid.
Bilski
9/16
(13) Then there is a fusion of the outer and inner shell. A hot glue heated to 180 degrees ensures the firm connection.
Bilski
10/16
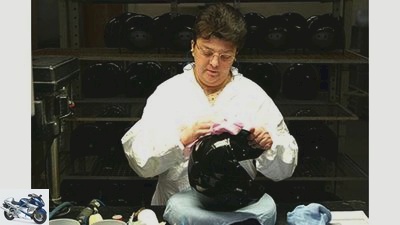
(10) The finished painted shells are checked for irregularities by employees. Small mistakes can be polished out.
Bilski
11/16
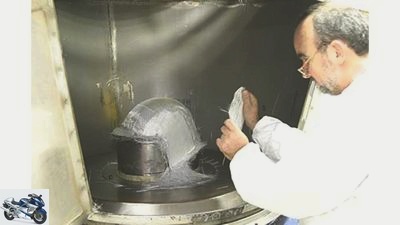
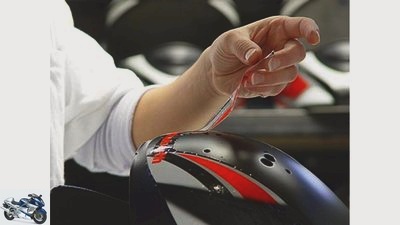
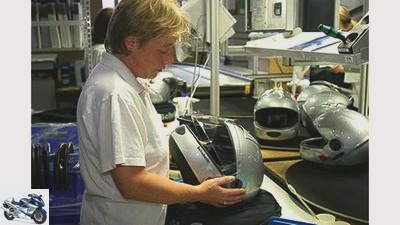
(11) The decors, which consist of extremely thin plastic sheeting, are placed on the bowl with plenty of water and rubbed in the right places with small rubber scrapers. Then a layer of clear varnish provides the necessary protection for the decorations.
Bilski
12/16
(15) Finally, the visor (picture) and neck pad are attached…
Bilski
13/16
(6) All edges and unevenness of the raw shells are removed by hand.
Bilski
14/16
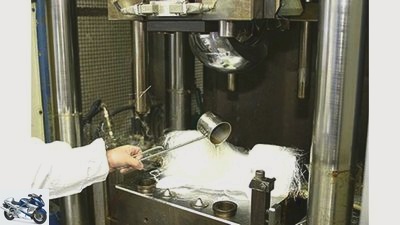
(3) The entire fiber mold is now placed upside down in the actual baking mold, where a certain amount of liquid resin and hardener mixture is added.
Bilski
15/16
(14) This is followed by small parts such as sealing lips, edge protection, aero spoilers, ventilation buttons, visor mechanics. And very important: the chin strap is riveted to the shell.
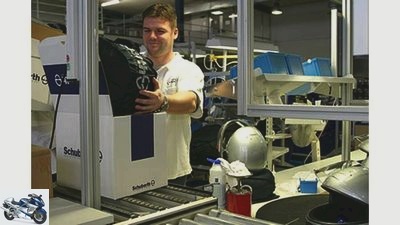
Bilski
16/16
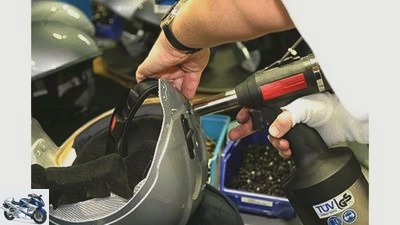
(17) After all parts have been checked for proper function in the final inspection, screw connections have been checked and the helmet has been degreased and cleaned with soft cloths, the helmet disappears in a protective cover and ends up in a cardboard box, ready for sale.
clothing
Helmets
This is how it’s done: motorcycle helmets
This is how it’s done: motorcycle helmets
Helmet manufacture
The individual work steps in the production of motorcycle helmets are almost identical in all companies around the world. MOTORRAD took a look around at Schuberth in Braunschweig.
Holger Hertneck
12/16/2003
The material used for the outer shell is decisive in the manufacture of motorcycle helmets. There are two groups: Thermoplastics and thermosets. While the outer shells of the inexpensive thermoplastic helmets (e.g. polycarbonate) are made from plastic granulate using an injection molding process, the production of high-quality thermoset shells requires a great deal of manual work. The further work steps after the production of the outer shells are identical.
The most important raw materials in the production of thermoset helmets are Mats made of glass fiber (GRP), carbon fiber (carbon) or aramid (Kevlar). A machine that looks like a giant plotter first cuts the required shapes out of the multi-layer mats (1). Depending on the helmet, different sizes of mats are used in different numbers, which an employee neatly places in their designated place on a helmet shape (2). In addition, this is automatically shot at with GRP snippets. The entire fiber composite is now placed upside down in the actual baking pan, where a certain amount of liquid resin and hardener mixture is added (3). At the pictured Hot pressing process A steel mold sinks into the die with the fiber mats and bakes the helmet shell in just under ten minutes at around 160 degrees Celsius. Instead of the steel mold, many manufacturers use a kind of balloon that presses the mats soaked with resin and hardener into the die.
The raw shells resulting from the thermoset production must be laboriously reworked for the further manufacturing process. First, a robot cuts out the field of vision and drills all the holes and recesses, for example for the visor mechanism and the ventilation devices (4). Afterwards, hard-working hands work on all edges and unevenness of the raw shell using grinding machines (5) – a dusty business.
With thermoplastic helmets, the entire outer shell is created in a single work step. Injection molding machines liquefy the raw material (Plastic granulate) and inject it into a highly polished casting mold. At a temperature of around 300 degrees Celsius and a pressure of 800 tons, a helmet shell is created every 90 seconds (6). Due to the extremely expensive machines, this production only pays off for very large quantities. It impresses with the absolute dimensional accuracy of the raw shells, which already have the visor cutout and all the necessary holes and do not have to be laboriously deburred, ground or otherwise reworked by hand for the further production process.
The manual roughening of the shell (7) serves to prepare the surface for subsequent fully automatic painting process (8th) to make more adhesive. The painting itself takes place under almost clinically sterile and absolutely dust-free conditions
the pods have been meticulously degreased. Employees check pre-painted shells for irregularities. Small mistakes can be polished out (9), Helmets with major defects are disposed of or sanded and repainted. It is very time-consuming Application of the decors, which consist of extremely thin plastic films. These are placed on the bowls with plenty of water (10) and rubbed in the designated places with small rubber scrapers. After drying, a layer of clear varnish provides the necessary protection for the delicate decoration.
The inner workings of the helmets are prepared parallel to the outer shell. For example, a Schuberth employee glues foam pads of different thicknesses to the EPS (Styrofoam) cheek parts, depending on the size of the helmet (11). In addition, all EPS parts are covered with a skin-friendly textile material. Am in picture (12) workplace to be seen, it almost comes to Fusion of outer and inner shell. A hot glue heated to around 180 degrees Celsius ensures the necessary connection between the two. Now all the small parts such as sealing lips, edge protection, aero spoilers, ventilation buttons, visor mechanics follow. And very important: The chin strap is riveted to the shell (13). Flip-up helmets are next given the foldable chin section and the associated locking mechanism. Last but not least, be visor (14) and neck pads are attached, then all safety and functional stickers are attached (15). Before the finished motorcycle helmet disappears in a helmet sack and ends up in a box (16), check the final check Once again, all parts such as the visor mechanism are working properly, checking screw connections and degreasing and cleaning the helmet with soft cloths and using compressed air to blow small lint out of the inside of the helmet.
Related articles
-
4 carbon motorcycle helmets in the product test
mps photo studio clothing Helmets 4 carbon motorcycle helmets in the product test 4 motorcycle carbon helmets tested Noble full-face helmets in the…
-
Motorcycle helmets: test, purchase advice, ECE standard, communication
Herder 14th pictures Herder 1/14 Jorg Lohse trying in vain to mount a wind deflector on the X-lite. Can you test harder? no! Herder 2/14 The Schuberth S1…
-
Customize motorcycle helmets helmade configurator
helmade 32 pictures helmade 1/32 Helmet design handmade by helmade. helmade 2/32 “grasshopper” from Slawo. helmade 3/32 And again “grasshopper”! helmade…
-
Ten motorcycle helmets with Bluetooth in the test (2018)
mps studio 39 pictures mps photo studio 1/39 BMW System 7 carbon. mps photo studio 2/39 Backlight: While the sun visor is a little tight, the wind…
-
Motorcycle helmets for the racetrack in a comparison test
PHOTO-BK.COM 23 pictures PHOTO-BK.COM 1/23 In the comparison test, eleven racing helmets faced each other. mps photo studio 2/23 Simple but very…
-
Caberg motorcycle helmets 2018
Photo: Caberg 16 pictures Caberg 1/16 Caberg Drift Evo Speedster. Caberg 2/16 Caberg Drift Evo Speedster. Caberg 3/16 Caberg Drift Evo Speedster. Caberg…
-
Jet helmets put to the test: motorcycle helmets with the feeling of freedom
Dentges clothing Helmets Jet helmets put to the test: motorcycle helmets with the feeling of freedom Motorcycle open face helmets in the test The feeling…
-
Motorcycle helmets for sports riders in the test
2Snap clothing Helmets Motorcycle helmets for sports riders in the test Product test: racing helmets Motorcycle helmets for sports riders in the test…
-
LightMode – glowing retrofit kits for motorcycle helmets
Security campaign Consideration has right of way LightMode 19th pictures LightMode 1/19 The sets from LightMode leave the helmet “enlighten”. LightMode…
-
Motorcycle helmets made of carbon in the test
Hertneck clothing Helmets Motorcycle helmets made of carbon in the test test Carbon helmets Without coal there is no carbon – this is true at least for…