Table of contents
- Guide to repairing spoked wheels – Part 2 Fix vertical and lateral blows
- First correct a lateral runout
- Work alternately on two side cuts
- Work out the runout
- More about technology
- The alignment of the hub and rim
- The correct tension of the spokes
- Spoke torsion
- The principle of rim centering
Marcel Schoch

15th pictures
Marcel Schoch
1/15
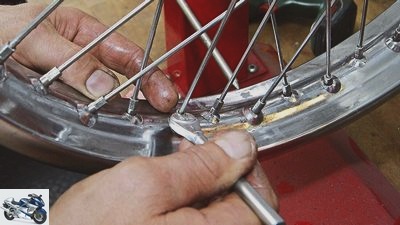
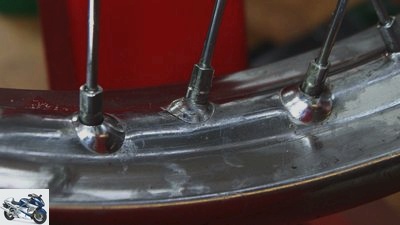
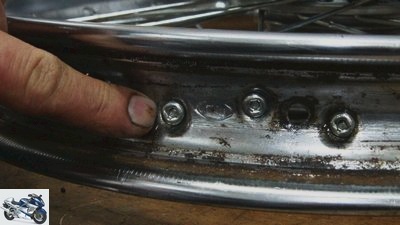
The spokes, which are already slightly under tension after they have been lightened, lie firmly in the punch hole.
Marcel Schoch
2/15
Now they are tightened again so far that the nipple just covers the thread of the spokes.
Marcel Schoch
3/15
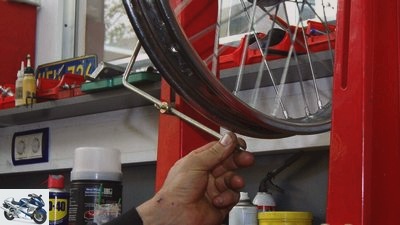
Experience instead of dial gauges: professional screwdrivers can also use their thumbs to pinpoint a larger lateral blow.
Marcel Schoch
4/15
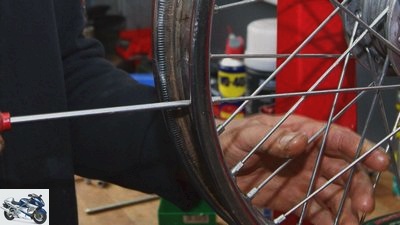
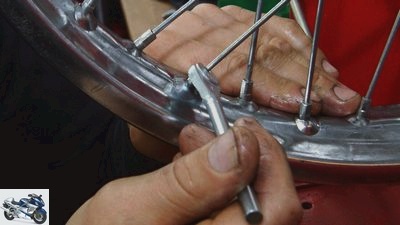
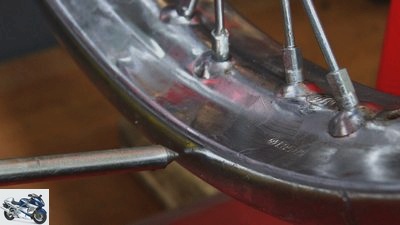
In our example, the rim shows a lateral deflection to the right after being spoked, viewed in the running direction of the rim. So Wolfgang loosens the right spoke (s) in this area and then pulls the left spoke (s) next to it.
Marcel Schoch
5/15
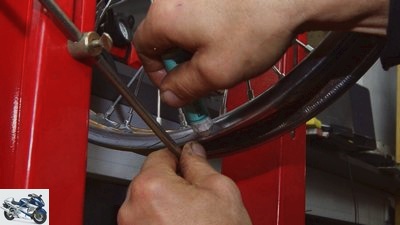
Working out a lateral runout and thus “straightening” a rim is always done in small steps. Measure over and over again whether the work leads to the right result.
Marcel Schoch
6/15
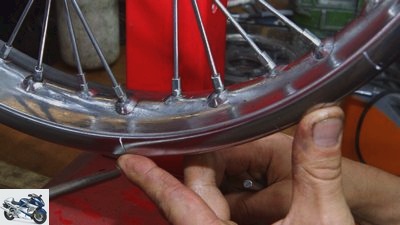
In this case, the vertical stroke is only a few millimeters. Here Wolfgang marks the area of the hilltop with a grease pencil.
Marcel Schoch
7/15
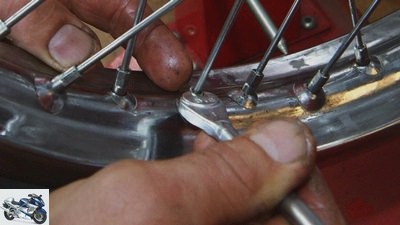
These five spokes must be tightened to equalize the runout in the marked area.
Marcel Schoch
8/15
In the area of the vertical stroke, the center spoke is tightened more than the two outer spokes.
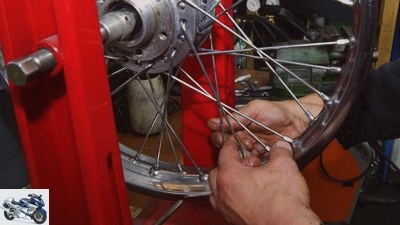
Marcel Schoch
9/15
The same rule applies when dealing with a sudden change in height: Control is everything! After each work step, it is therefore measured whether you are on the right track. This applies to vertical as well as possibly still existing lateral runout.
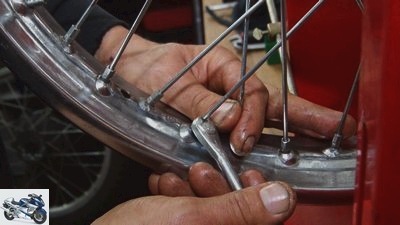
Marcel Schoch
10/15
To eliminate run-out, after tightening the spokes in the affected area, the spokes, which are offset by 180 degrees, are loosened equivalent to the tightening pattern.
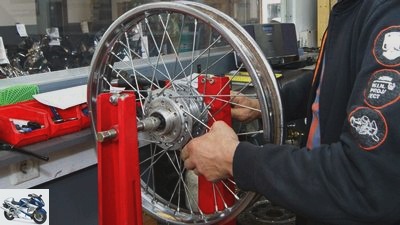
Marcel Schoch
11/15
After aligning the rim, the correct tension of all spokes is checked to complete the repair work.
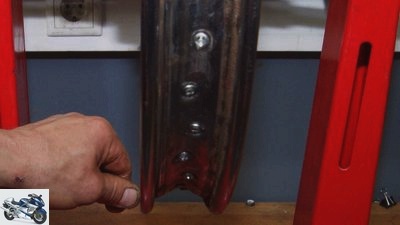
Marcel Schoch
12/15
If corrections are necessary, the rim must be checked again for vertical or lateral runout.
Marcel Schoch
13/15
If the correct spokes are used, no spoke should protrude from the spoke nipples.
Marcel Schoch
14/15
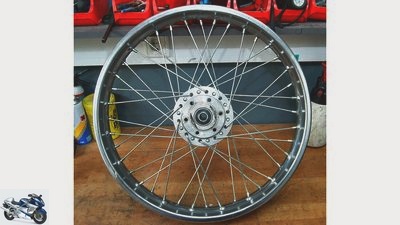
The bike is ready for installation. Check it again after around 1,000 kilometers.
Drawings: Franz Josef Schermer
15/15
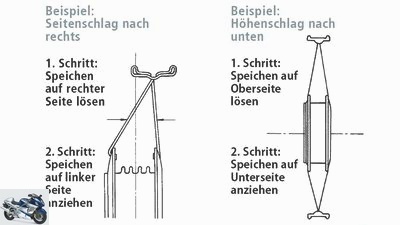
The principle of rim centering
counselor
workshop
Guide to repairing spoked motorcycle wheels part 2
Guide to repairing spoked wheels – Part 2
Fix vertical and lateral blows
Content of
In Part 1, we dealt with the spoke replacement. In the 2nd part we show how spoked wheels maintain their correct tension and how vertical or lateral runout can be remedied.
Marcel Schoch
10/06/2016
With the even turning of the nipples onto the spokes, the spoking ended in the last issue. All spokes are already slightly under tension when our expert Wolfgang Schelbert (www.wolfis-garage.de) centering the rim on a manual wheel balancer.
Buy complete article
Guide to repairing spoked wheels – Part 2
Fix vertical and lateral blows
4 pages) as PDF
€ 2.00
Buy now
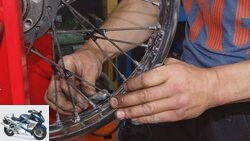
After being spoked, a wheel rarely runs properly because the tension is usually insufficient. “So I tighten all the spokes all around with the screwdriver, starting again at the valve hole,” says Wolfgang. “It is sufficient to screw in the nipples one turn at a time.” He repeats this process until the spokes clearly build up tension. Only now is the rim aligned. It is important to reconcile a lateral or vertical runout (lateral / radial), the alignment of the hub to the rim and the even spoke tension.
workshop
Guide to repairing spoked wheels – Part 1
A professional shows how it’s done
read more
First correct a lateral runout
Although you have to pay attention to all four orientations, you always start by working out a side stroke. This is detected with the help of a pin or a dial gauge attached to the side of the truing stand. Wolfgang works without a dial gauge. “When leaving the factory, many rims have a noticeable lateral runout, mostly in the area of the joint where the rim was welded together. Working with a dial gauge here can drive you to despair, ”says the two-wheeler professional, explaining his approach. “It is better to use a thorn or fingernail to look for the location of the side impact by paying attention to the gap between the light and the rim.”
If the rim deflects to the right, for example, all spokes in the area of the side deflection that go to the right hub flange are loosened. Then lightly tighten the spokes that go to the left hub flange. “Clamping and loosening must take place as evenly as possible,” adds Wolfi. “If you open a quarter turn here, you also have to tighten a quarter turn there.” If the maximum lateral runout is between two spokes, loosen the adjacent spokes a quarter turn. Correspondingly, the spokes that are exactly opposite the maximum stroke are tightened by a quarter of a turn. If, on the other hand, the maximum stroke is exactly at the level of a spoke, this spoke is loosened by a quarter of a turn. However, the adjacent spokes may then only be loosened by an eighth of a turn. The spokes on the opposite side must then be tightened accordingly. If this is not enough to eliminate the lateral blow, this procedure is repeated until a satisfactory result is obtained.
Work alternately on two side cuts
If there is another side runout in the rim, this is worked out using the same method. “If there are several side swipes, it makes no sense to work out the first perfectly and then take care of the second,” explains Wolfgang. “It works better if you work alternately on both sides and try to work them out step by step.”
Work out the runout
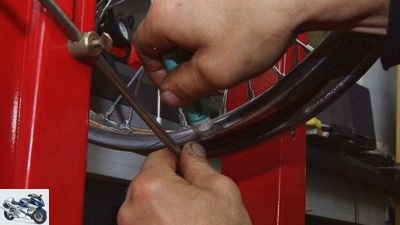
Marcel Schoch
In this case, the vertical stroke is only a few millimeters. Here Wolfgang marks the area of the hilltop with a grease pencil.
If that worked, you then correct the run-out of a rim. As with the search for the rash, one looks for the highest point of the rash. If it is in the middle between two spokes, these two spokes are each tightened by half a turn. Then turn the wheel 180 degrees and open the exactly opposite spokes also by half a turn.
If, on the other hand, the maximum runout is exactly above one end of the spoke, the spoke in question is tightened by a full turn and the two adjacent spokes by half a turn. Then loosen the exactly opposite spokes by the corresponding values. “When correcting lateral and vertical movements, one should always keep in mind that this is only possible by tightening and loosening the spokes,” adds Wolfgang. “Pushing around on the spokes doesn’t work due to the design!”
More about technology
PS knowledge: technology
- Motorcycle technology clearly explained on 97 pages (PDF)
- From starter to spark plug
- Simple teaching of physical principles
- Tips and tricks for practitioners
To the PDF for € 9.99
#image.jpg
The alignment of the hub and rim
After aligning an impact, the expert checks the central alignment of the hub to the rim by measuring the offset on both sides. This must be the same for centric wheels. If there is a gap between the wheel and the measuring tool when the wheel is turned, the spoke tension must be adjusted in this area in order to “center” the rim. If the hub is offset by more than two to three millimeters from the center, all 20 spokes on the opposite side of the offset are tightened by about half a turn in order to eliminate it. In the case of smaller deviations (one to two millimeters), proceed as when working out the lateral runout. “When aligning the hub exactly to the rim, as well as when correcting a lateral runout, it is always necessary to check the vertical runout from time to time,” says Wolfgang.
The correct tension of the spokes
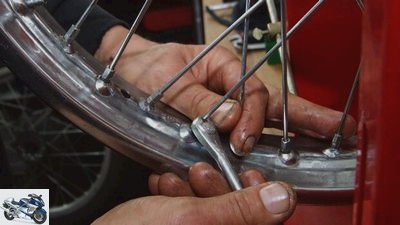
Marcel Schoch
To eliminate run-out, after tightening the spokes in the affected area, the spokes, which are offset by 180 degrees, are loosened equivalent to the tightening pattern.
If the alignment of the rim is correct, the tension of all spokes is then checked. “There is no generally applicable torque for tensioning the spokes,” says Wolfgang. “Hobby screwdrivers only have two options for determining the correct tension: on the one hand, the sound test, and on the other hand, their sensitivity when tightening the spoke nipples.” During the sound test, you pluck the spoke or tap it with a screwdriver. The sound of all spokes should be approximately the same. If you have a completely spoked wheel of the same type for comparison, you can compare the sound perfectly. The spokes must never sound dull or rattling, a medium-pitched tone is ideal.
The second method takes a lot of feeling. “You use the spoke wrench to test how easy or difficult it is to turn the nipples,” explains Wolfgang. “The force applied here should be approximately the same for all spokes.”
Spoke torsion
Finally, the spoke torsion has to be taken into account. When tightening a spoke with the spoke wrench, it will turn with increasing tension until the spoke head stops in the hub flange. “This means that the spoke cannot absorb the tensile forces on the spoke head over the entire contact surface when the vehicle is in motion. What can ultimately lead to the breakage of this spoke, ”the professional knows. “As a preventive measure, you should therefore open the spoke nipple a little bit after tightening it. But only so much that the spoke head lies flat in its receptacle in the hub flange! “
Finally, our expert checks the inside of the rim for protruding spokes. If these protrude too far, they can damage the hose. However, protruding ends can easily be grinded down to the level of the spoke nipples with a mini sander. Only then is a new rim tape attached – now the wheel is ready. “Manually spoked wheels usually last longer than machine-made wheels, because machines have no feel,” says Wolfgang. “However, this is what it takes to align and tension the spokes correctly.”
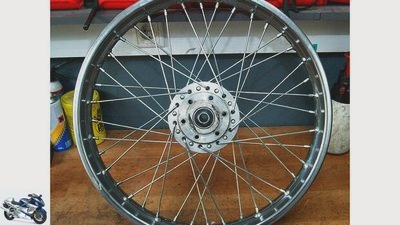
Marcel Schoch
The bike is ready for installation. Check it again after around 1,000 kilometers.
To ensure that the newly spoked wheel actually lasts for a long time, the spoke tension must be checked again after around 1,000 kilometers. Any corrections are then made in the same way as described for centering.
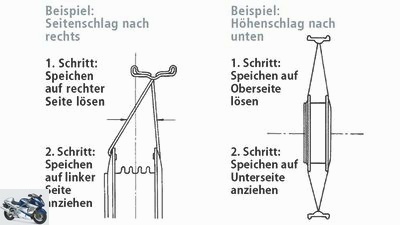
The principle of rim centering
Drawings: Franz Josef Schermer
The principle of rim centering
Spokes cannot build up pressure on the rim on the hub side, as the spoke nipples are only inserted into the rim from the outside. The basic principle of centering is therefore pulling. A lateral runout and / or vertical runout can therefore be corrected by loosening the spokes in the area of the runout and tightening the opposing or 180 degree offset spokes.
Related articles
-
Guide to repairing spoked motorcycle wheels Part 1
Marcel Schoch 38 pictures Marcel Schoch 1/38 Preparatory work: The bike must always be removed for repairs. Damage to the tire can be an indication that…
-
Motorcycle technology – maintaining drum brakes, part 1
Marcel Schoch 50 pictures Marcel Schoch 1/50 After two passes with a total of two tenths of a material removal, the brake drum is ready for use again….
-
Suspension guide – correctly adjusting the damping, part 2
Cook counselor workshop Adjusting suspension / damping correctly, part 2 Guide: correctly adjusting the suspension / damping, part 2 A mystery for many:…
-
The small ABC of motorcycle types, part 1 A ?? D.
Buell motorcycles The small ABC of motorcycle types, part 1 A ?? D. The small ABC of motorcycle types, part 1 A ?? D. ETV 1000 XB9R S4R Manufacturers…
-
Motorcycle tour Panamericana part 1
Army car 27 pictures Army car 1/27 A MOTORRAD volunteer fulfills a lifelong dream: from Alaska to California on a motorcycle. Army car 2/27 Pure nature:…
-
Buying a used Harley-Davidson motorcycle guide
Bilski counselor Used purchase Buying a used Harley-Davidson motorcycle guide Buying a used Harley-Davidson motorcycle guide How to expose second-hand…
-
Guide: Braking correctly, part 1 – without ABS
jkuenstle.de 9 pictures 1/9 Braking properly without ABS: Your colleague shows you how: knees on the tank, upper body upright, view far ahead. The arms…
-
Motorcycle production, part 1: Honda
Jahn 15th pictures Jahn 1/15 How are motorcycles produced? Where do the parts come from, what happens before final assembly? These questions urged…
-
Motorcycle guide traffic rules in the travel countries
Breakable counselor traffic & business Motorcycle guide traffic rules in the travel countries Traffic rules in the travel countries Watch out, trap!…
-
Guide to changing the brake pads on the motorcycle
Ralf Schneider counselor workshop Guide to changing the brake pads on the motorcycle Change the brake pads on the motorcycle Tips from professionals…