Table of contents
counselor
workshop
Change the steering head bearing
Change the steering head bearing
Change the steering head bearing
If the bearing in the steering head of the machine is defective, even the experienced biker can no longer get a clean line in curves.
02/25/2003
If the bearing in the steering head of the machine is defective, even the experienced biker can no longer get a clean line in curves. A defective steering head bearing can be easily identified. The motorcycle is jacked up so that the front wheel hovers in the air. So stand on the main stand and have a second person put the weight on the back.
If there is no main stand, the machine can also be tilted over the side stand if necessary. Then the handlebars must be able to move freely from the center position to the right and left without hooking. Defective bearings are usually noticeable when the steering engages in the middle position. The result: poor steering properties and unstable road holding, especially in fast corners.
On this occasion it can also be checked immediately whether the bearings are set free of play or are set too tight. To do this, jerk the fork back and forth at the bottom. If there is a click in the steering head, readjustment must be carried out. Sometimes, however, a small amount of play cannot be eliminated because the bearing rings on the shaft tube have play due to inaccurate manufacture. In extreme cases, this leads to oscillation when driving straight ahead at high speed. If you want to eliminate this error, you should contact the warehouse specialist Emil Schwarz (phone 0 71 81/417 66). He can manufacture special oversized or undersized bearing rings to measure.
Under no circumstances should the bearing be set too tight, especially ball bearings cannot withstand increased pressure and are ruined in a very short time. The steering should slide over the entire steering angle without resistance. Be careful when checking: cables or cables can sometimes cause some friction and drag.
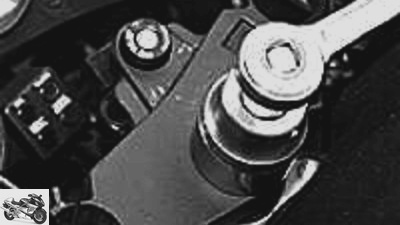
To get to the steering head bearings, the entire fork must first be removed. That means: The front wheel has to be removed, the brake system, then the fork bars, possibly the handlebars have to be removed, sometimes the fairing has to be removed. Then the central nut of the upper triple clamp can be unscrewed.
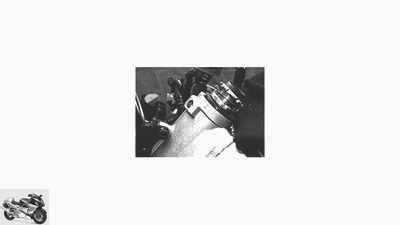
The upper triple clamp can be removed, underneath there are one or two locknuts. These are loosened with a hook wrench, occasionally one is available in the on-board service. With double, countered nuts, however, you need two keys. Hold the lower triple clamp when unscrewing the nuts.
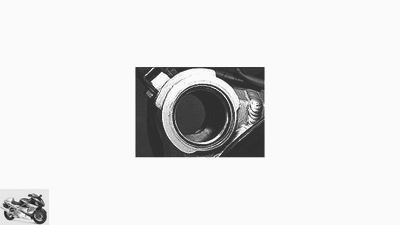
A defective bearing can usually be quickly identified visually. It is revealed by pressure points or badly worn raceways on the balls or rollers. Under no circumstances should individual shells or race rings be exchanged. Always swap upper and lower bearings in the set, the accessories trade offers a cheaper alternative to original spare parts.
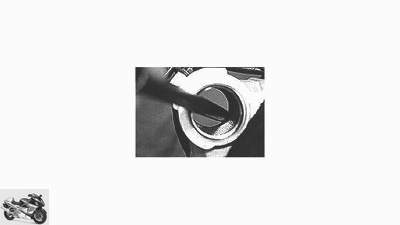
The bearing rings can be driven out of the steering head with a mandrel. Work alternately in many steps and with not too coarse blows of the hammer so that the ring does not tilt. Often there are two opposing recesses in the frame so that a mandrel can be attached.
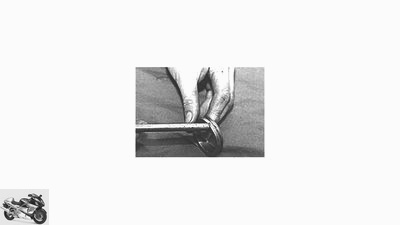
The edge on which the mandrel can grip the bearing ring is usually quite narrow. It is important that the tip of the mandrel is sharpened to prevent slipping. If necessary, you can also use a large, disused screwdriver. If these means fail, only special extraction tools will help.
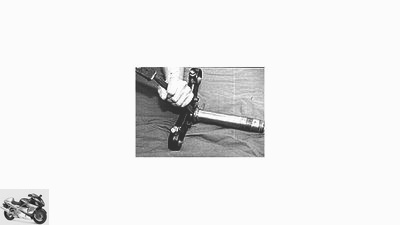
The inner ring of the lower bearing is pressed onto the head tube. There are special tools for cutting, if necessary you can use a hammer and chisel. Heating in the oven definitely makes the job easier. The chisel must be handled carefully and sensitively so that the bearing seat is not permanently damaged.
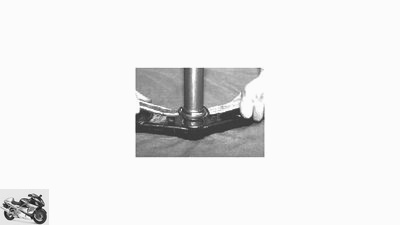
If the lower bearing ring has been raised a little after a few chisel blows, assembly levers or large screwdrivers can be used. Lever evenly. As shown in the picture, the levers can be placed on the steering stop. Pieces of wood are better as a gentle base.
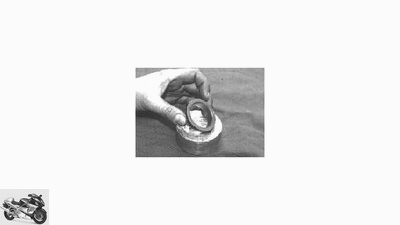
Before the new bearing ring is installed, it is coated on the inside with copper paste, which makes it easier to press on and prevents rust from forming. Heating the bearing ring cannot do any harm here either. But do not burn out with the burner, but heat in the oven or with the hot air blower to a maximum of 150 degrees.
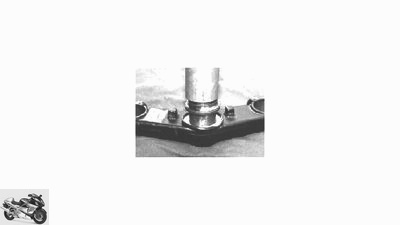
The sealing cap, which prevents the ingress of dirt and water, is often located under the bearing. Do not forget. Then mount the bearing ring with a suitable pipe. Its end should definitely be flat and angled, otherwise the bearing ring will tilt. The tube must never touch the running surfaces.
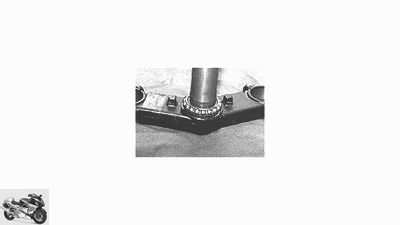
The trickiest step when replacing the bearings is the lower inner ring. If you lack the tools or experience, this can also be done in the workshop. The helpful and material-friendly special tool is usually available there. Then put on the bearing cage with plenty of grease.
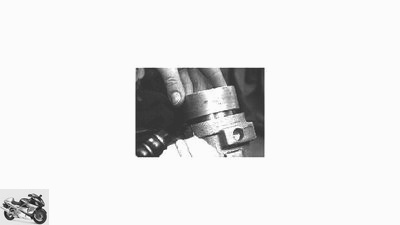
Sometimes the fit of the outer bearing rings in the frame is a little loose. In an emergency, inserting with bearing adhesive, for example Loctite 648, helps here. When inserting the bearings, make sure that the rings are positioned straight. Then carefully drive in with light hammer blows. A suitable aluminum ring is helpful here.
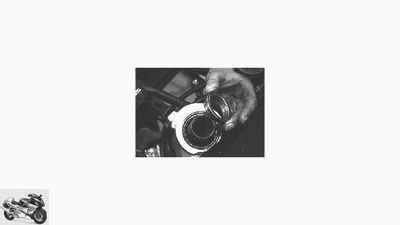
It becomes difficult if the balls do not have a cage. Then insert a lot of fat and make sure that the balls are complete and correctly positioned. Use plenty of grease, which lubricates and protects against water at the same time. Belray fat, for example, is well suited.
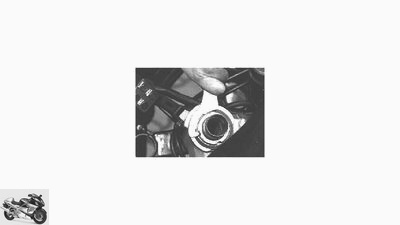
Do not forget the upper dust cap when assembling further. Check the sealing lips, use a new cap if necessary. In some cases the sealing ring is already glued to the upper and lower bearings. Then screw on the cap nuts by hand and tighten provisionally with the hook wrench.
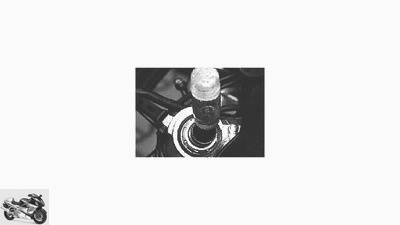
When the lower triple clamp is temporarily installed, a few gentle blows with the rubber mallet will ensure that the bearings sit in their seats. Never hammer the head tube with a metal hammer, otherwise the sensitive thread would be ruined in a flash.
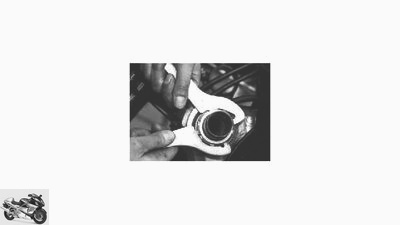
Now set the correct play. The rotation of the fork bridge must be smooth and even over the entire steering angle. When there is increased resistance in a position, things get complicated. Then something is crooked, the bearing seats are out of round, or the shaft tube is bent.
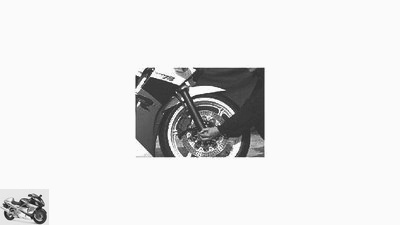
In any case, after installing the fork and front wheel, check the bearing setting again. Tightening the upper triple clamp may have made the adjustment too tight. If it has to be adjusted again, always loosen the clamping of the upper fork bridge on the sliding tubes.
Related articles
-
Adviser: change the steering head bearing
Schermer counselor workshop Adviser: change the steering head bearing Adviser: change the steering head bearing Check and replace steering head bearings…
-
counselor workshop Change the wheel bearing Change the wheel bearing on the motorcycle With a mandrel, hot air and bearing grease Changing wheel bearings…
-
Advice: check and adjust steering head bearings
Cook 9 pictures Cook 1/9 Checking and adjusting the steering head bearing – Step 2: Loosen the central nut on the steering shaft. Only use a nut and a…
-
Advisor This is how the steering head bearing stays fit
counselor workshop Advisor This is how the steering head bearing stays fit So the steering head bearing stays fit Screwdriver tip part 2 The second part…
-
Adviser: change the wheel bearing
Schermer 7th pictures Schermer 1/7 Changing the wheel bearing Step 7: When driving in, carefully tap into the outer ring with a mandrel.. Schermer 2/7…
-
counselor workshop Change fork sealing rings Change fork sealing rings Change fork sealing rings Loss of oil on the telescopic fork is not just a…
-
Cook counselor workshop Adviser: Change Simmerrings Adviser: Change Simmerrings Change the oil seals on the telescopic fork If the fork oil finds its way…
-
Schermer counselor workshop Advice: change fork Advice: change fork Remove and install the fork properly Simmerring leaking? Fork oil change due? Replace…
-
Cook 10 pictures Cook 1/10 If you doubt your driving ability because every curve radius becomes a hexagon and the motorcycle no longer meets a line, a…
-
Change brake discs yourself – tips and tricks
Markus Jahn 9 pictures Ralf Schneider 1/9 There is a need for action here! The heat spots on the panes shown on the left can certainly no longer be…