Table of contents
- Workshop guide for plastic repairs Repair damage to the fairing yourself
- No heat gun at hand? Mom’s hair dryer does it too
- Retrofit panels: an alternative?
- Addresses
Dentges
13th pictures
Dentges
1/13
Dentges
2/13
Dentges
3/13
Dentges
4/13
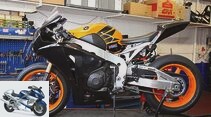
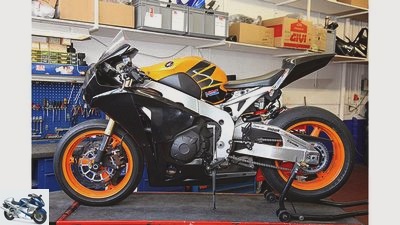
Honda Fireblade with retrofit fairing: cheap and good too?
Dentges
5/13
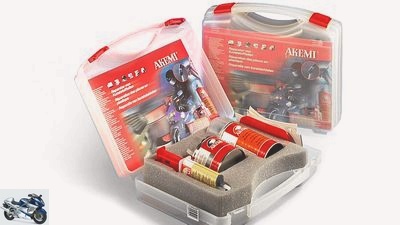
Repair sets: In hardware stores or specialist shops for model builders there are complete plastic repair sets like this one from Akemi (82.60 euros, purchase information at www.akemi.com).
Dentges
6/13
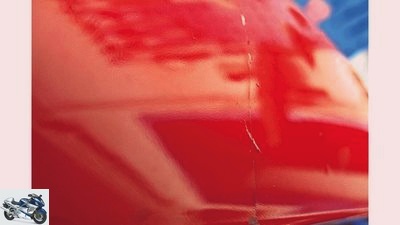
Assessment: Hairline cracks on the outside can either be removed with the touch-up pencil or must be filled and painted.
Dentges
7/13
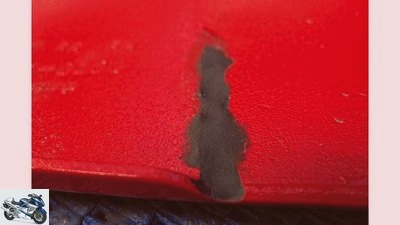
Hardening: Depending on the kit, hardening of the plastic wound takes between one and five hours. A heat gun speeds up the process.
Dentges
8/13
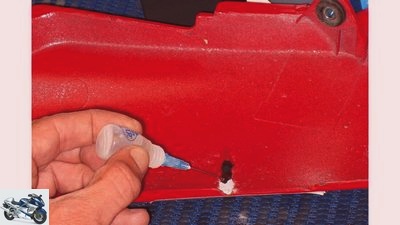
Drip on: With some sets, the filling material still has to be bound with a special two-component adhesive.
Dentges
9/13
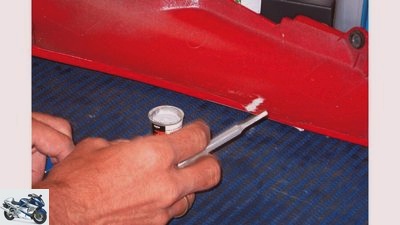
Filling: Depending on the repair kit used, the break is now filled with powder glue or mixed liquid plastic.
Dentges
10/13
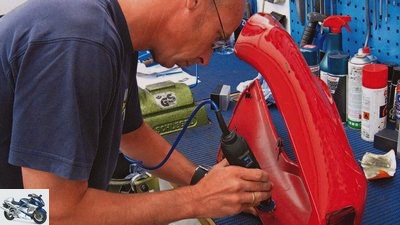
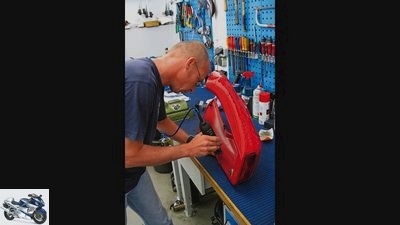
Grinding: use a grinding tool to chamfer the crack on the inside in a V-shape. The bevel increases the connection area.
Dentges
11/13
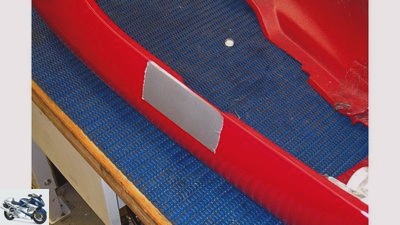
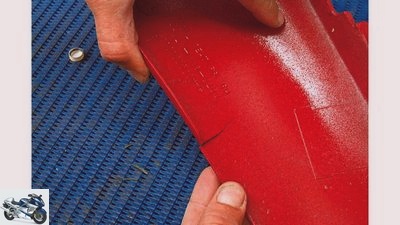
Masking: So that no burrs form on the outside, the crack must be precisely fixed with a firm adhesive tape (gaffer tape).
Dentges
12/13
Cleaning: clean the break point thoroughly and dry it well. Greasy and oily residues in particular endanger a good repair result.
Dentges
13/13
counselor
workshop
Workshop guide for plastic repairs
Workshop guide for plastic repairs
Repair damage to the fairing yourself
What to do if the fairing is damaged: sink a lot of money into a new part or fix small cracks and breaks yourself with the manual skills of a model maker? Tips and tricks for clever adhesives.
Jorg Lohse
01/30/2014
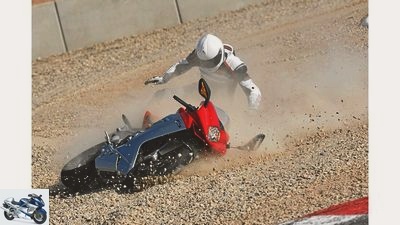
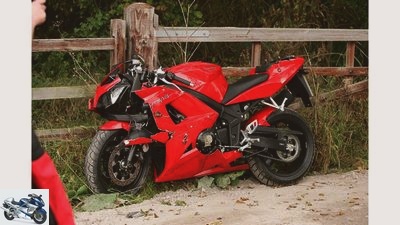
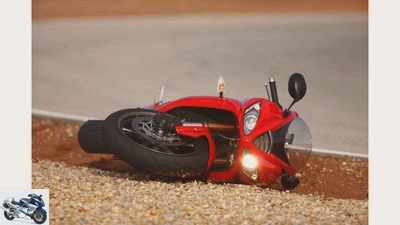
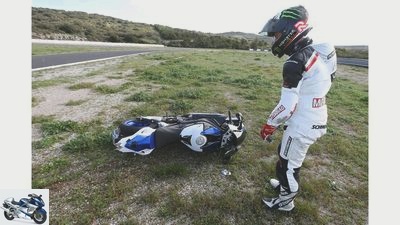
A small carelessness when maneuvering, and a small crack adorns the panel. Even if the wound looks harmless at first, engine vibrations can easily widen the gap. Quick action is now required. Anyone who has already gained experience with model kits in their early youth (or has this hobby to this day) can dare to do repairs using the do-it-yourself method.
Buy complete article
Workshop guide for plastic repairs
Repair damage to the fairing yourself
2 pages) as PDF
€ 2.00
Buy now
Otherwise, there is also the option of sending the damaged part to a specialist. A professional is Wilhelm Bechtler, owner of Technoplast in Hockenheim, who can now look back on 20 years of experience in plastic repairs (Tel. 0 62 05/1 59 32, www.technoplast-hockenheim.de). Ideally, most of the breaks and cracks in the paneling can be dealt with by a specialist within a few hours, the costs are well within reasonable limits at 100 to 200 euros and are well below the prices for original new parts.
No heat gun at hand? Mom’s hair dryer does it too
If you want to try it yourself, you can order the Pro-Resin repair kit (44 euros) based on a two-component cold polymer from Thermoplast. Before starting work, however, the nature of the cladding part should be clarified. Because not all repair kits that are offered work with all types of plastic. Pro-Resin, which is mixed as a liquid plastic, is suitable for polycarbonate or ABS plastics, but not for cladding parts made of GRP, Kevlar or carbon. Here you work with repair kits based on polyester resin and fiberglass mats, for example with Prestolith from Motip Dupli. Ideally, an abbreviation is embossed on the damaged component that identifies the material (e.g. ABS, PC, PE, PP, PVC). If you are not sure, ask a specialist shop for model builders with the component in hand.
Before starting work, the appropriate tool should be available. A Dremel is ideal for sanding and chamfering cracks in order to get into smaller corners or beads. A sanding belt file is also well suited to roughening up surfaces in tight spaces. Sometimes it makes sense to make five millimeter holes at the end of the crack with a drill to prevent further tearing. It is not just the workplace that should be thoroughly cleaned prior to wound treatment in order to prevent foreign bodies from working in, which would later have to be painstakingly ground out. The surfaces of the cladding parts are also meticulously cleaned with a degreaser and dried thoroughly before starting the repair work. If you don’t have a heat gun at hand, you can borrow your mom’s hairdryer from the bathroom. This will also do a good job later when it comes to accelerating the curing process at the end of the work.
Depending on the repair set, there are of course different work steps, but these are described in detail for the branded sets (e.g. Akemi, Loctite / Teroson, Prestolith, thermoplastic).
Retrofit panels: an alternative?
The repair tips are of course not suitable for every type of damage. Small cracks, cracks or broken retaining lugs can still be straightened. However, if the panel is broken over a large area after a fall or fall, usually only a complete replacement will help. The question remains: original or accessory part? For a 2010 Fireblade, for example, the fairing would cost just under 2000 euros at the dealership – but at least it would be painted and covered with a matching set of decorations. Hobby athletes therefore like to fall back on racing fairings, which are offered from 300 euros, but are not painted.
While the original plastic kits are mostly made of thermoplastics (e.g. ABS or ASA), the retrofit kits are components made of glass fiber reinforced plastics (GRP). Replicas made of carbon or kevlar are lighter, but usually many times more expensive. The weights can therefore differ greatly: light sets for the Fireblade weigh less than three kilos, heavy ones scratch the five kilo mark. There are also some differences in the fit. Not all threads are seated so precisely that the attachment works straight away and no adjustment work is pending. And then there are the costs for the painting. Club members can download a test of racing fairings free of charge from www.motorrad-helden.de.
Addresses
CRC, Inter-Moto-Trading GmbH, Tel. 02741/60453, www.imt-racing.com
Fisherman, Tel. 0877/31669, www.fischer-rennverkleidungen.de
Presser & Kuhn, Tel. 06825/48148, www.presserundkuhn.de
Ricambi white, Tel. 06345/949430, www.ricambiweiss.de
BRP Blaha Racingparts, Tel. 06104/74632, www.sebimoto.de
Racing parts trade Stanko Glaser, Tel. 00 43/676/5203991, www.stg-racing.at
Related articles
-
Time limits for motorcycle repairs workshop
markus-jahn.com counselor traffic & business Time limits for motorcycle repairs workshop Timing for motorcycle repairs Over time it gets annoying When it…
-
Workshop guide: hoses and clamps
Schermer counselor workshop Workshop guide: hoses and clamps Workshop guide Hoses and clamps To ensure that air, fuel and coolant get exactly where they…
-
Photos: Franz Josef Schermer counselor workshop Workshop guide Workshop guide – provisional Recognize botches on the motorcycle Recognize botches on the…
-
Workshop guide: install small indicators
Schermer accesories Workshop guide: install small indicators Workshop guide: install small indicators Flasher conversion on a motorcycle Mini indicators…
-
Workshop gloves for screwing on the motorcycle
fact 22nd pictures mps photo studio 1/22 Ejendals Tegera 5117: Price: 10.90 euros. MOTORRAD verdict: very good. mps photo studio 2/22 Ellix 397627:…
-
Workshop – screwdriver tip for the inspection
Ralf Petersen 15th pictures Ralf Petersen 1/15 Every motorcycle must be serviced regularly if it is to function properly. Ralf Petersen 2/15 What is…
-
Bilski 44 pictures Bilski 1/44 “There is work going on here!” – Impressions from Mike Krons restoration workshop. Bilski 2/44 “There is work going on…
-
Bilski counselor workshop Avoid workshop annoyance Avoid workshop annoyance The right tone, the right approach Why a workshop means stress for many…
-
Advice: workshop – repair ignition box
Ury accesories Advice: workshop – repair ignition box Guide: workshop Repair ignition box Ignition control failure can be surprisingly expensive – but it…
-
Guide: Stand damage and what it costs
archive counselor Used purchase Guide: Stand damage and what it costs Advisor knowledge Stand damage and what it costs Follow-up costs due to damage to…