Table of contents
accesories
landing gear & Spring elements
Basic chassis set-up
Basic chassis set-up
Basic chassis set-up
The chassis tuning begins with the inspection of all chassis parts. The following points significantly influence the road holding:
02/25/2003
The chassis tuning begins with the inspection of all chassis parts. The following points significantly influence the road holding:
Bikes: Ensure sufficient tread depth, careful balancing and the correct air pressure of the tires. Check tires and rims for lateral or vertical runout. Check the wheel bearings meticulously for side play, replace if necessary.
Fork: Check the play and ease of movement of the steering head bearing. Check fork oil viscosity and level. Replace leaky fork seals.
Shock absorber: Have leaking struts (oil on the piston rod) serviced or replaced. Check all swing arm and deflection bearings for vertical and lateral play. Change worn bearings.
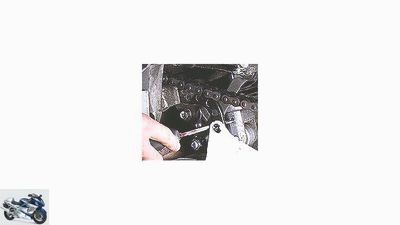
Chain: Clamp correctly and lubricate sufficiently. When turning, make sure that the tension is even and that the links are sticking.
Every conscientious driver regularly checks all of the points listed.
The actual chassis tuning begins with the spring preload. This somewhat misleading term refers to the setting of the spring base on the fork and shock absorber, which determines the ratio of positive and negative spring travel. It has proven effective to set the negative spring deflection on the shock absorber to around 30 percent of the total spring deflection. With the GSX-R 750 chosen here as an example, the rear wheel has 133 millimeters of spring travel available. So: set 40 millimeters of negative spring travel.
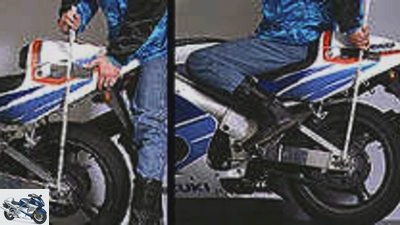
And this is how it’s done: First mark a reference point above the rear wheel axle (see illustration). Then lift the rear of the motorcycle out of the suspension until the rear wheel is completely relieved. Measure the distance between the wheel axle and the marking. Now sit on the motorcycle. Measure the distance between the axis and the marking again. The difference between the two measurements corresponds to the usable negative spring deflection. Adjust the spring base on the shock absorber until the difference equals the calculated 30 percent. If the negative spring deflection remains too large despite the setting, the spring is too soft. If it always stays too small, it is too hard. Exchange pens can help in such cases.
Proceed as follows on the fork: First relieve the front wheel, then measure and mark the entire suspension travel. Then pull a cable tie around one of the sliding tubes directly on the fork sealing ring. The positive spring deflection is correctly set when the cable tie moves almost to the marking while driving without the fork locking up when braking sharply. Increase the spring base until there is at least some residual spring travel even with hard braking maneuvers. If necessary, other fork springs or increasing the fork oil level can also help here.
Too little “preload” lets the motorcycle hang deep in the suspension. The shock absorber progresses too quickly and the fork locks up too quickly. The machine lurches, reacts insensitively and loses ground clearance. If the preload is too high, the tires lift off too quickly on bumpy roads and grip is lost.
The damping counteracts the rebounding of the suspension. The compression stage is responsible for compression and the rebound stage for rebound. The compression slows down the compression and prevents the wheels from jumping, known as stamping, which leads to limited contact with the road. The rebound stage, on the other hand, slows down the swing of the fork and shock absorber after compression.
The damping adjustment is checked with the motorcycle stationary: jerk the fork on the handlebars together. It must not plunge in as far as it will go and only vibrate briefly and slightly once. Also press the stern together with one jerk. The rebound process must be much slower. Under no circumstances should the stern swing back.
First relieve the stern and measure the distance. Then take a seat and measure again. The difference corresponds to the usable negative spring travel.
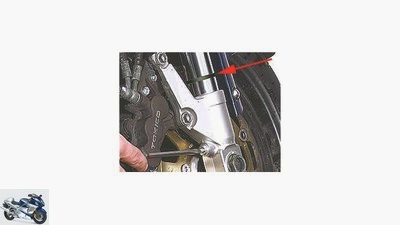
If the cable tie (arrow) only slides down so far after hard braking, the fork is correctly pretensioned.
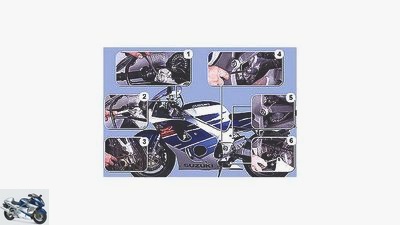
1. Front rebound
2. Front tension
3rd pressure stage in front
4. Rear compression
5. Rear preload
6. Rear rebound
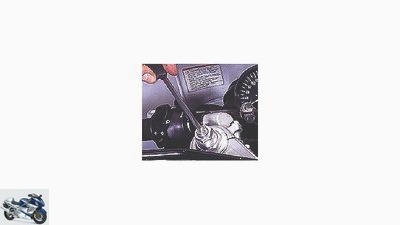
1. The rebound adjustment screw is usually located at the upper end of the fork (exotic forks have a compression and rebound adjustment that is separate and marked according to the fork leg). The rebound damping prevents the fork from swinging during rebound. If the rebound is too soft, the front rebounds too far. If the setting is too hard, the fork remains after compression “put”. The front rebounds too slowly and reacts stubbornly to bumps in rapid succession.
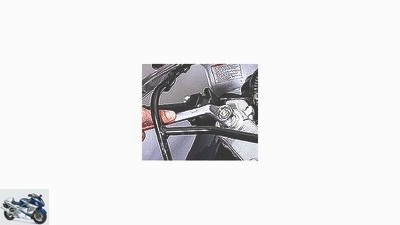
2. The fork spring base is attached to the “Preload screw” set at the top of the fork. Through “Pre-tensioning” If the front of the vehicle is raised, the fork gains greater reserves under high loads (e.g. hard braking maneuvers). The air cushion in the fork legs acts like a progressive additional spring under compression. Therefore, raising the fork oil level can provide additional support for the suspension.
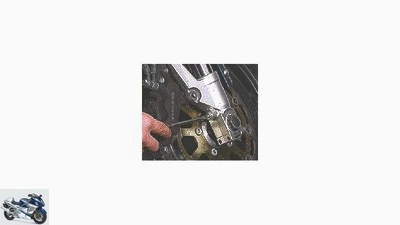
3. The compression adjustment screw is located at the bottom of the fork. The compression level regulates the compression speed. If the pressure level is too high, the front wheel jumps stubbornly over bumps and the fork reacts insensitively. If the pressure level is too soft, the bike also loses contact with the road on uneven ground and begins to jump in an uncontrolled manner.
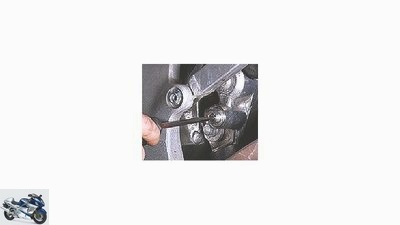
4th. The compression adjustment is located on top of the shock absorber, either (as in the picture) on one “Piggyback container” or on an externally connected container. As with the fork, it also brakes the compression speed on the shock absorber. If the pressure level is too hard, the rear tire jumps stubbornly over waves, the rear of the vehicle reacts insensitively, and the tire tends to slip. If the pressure level is too soft, the rear wheel also tends to jump on bumps. Contact with the road is severely restricted.
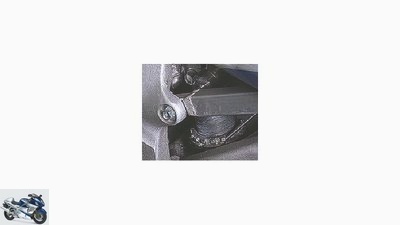
5. The spring base can be adjusted using a multi-stage detent, locknuts or hydraulics. “Pre-tensioning” changes the effective length of the installed shock absorber. The rear of the vehicle is raised and the position of the reversing lever changes. The shock absorber is correctly preloaded when around 30 percent of the total suspension travel is used up by a seated rider.
6th. The adjustment of the rebound damping is located at the bottom of the shock absorber. As with the fork, it brakes the rebound speed. If the rebound is too soft, the rear of the vehicle swings and is constantly restless. If the rebound is too hard, the suspension gets stuck, the rear dips deeper and deeper into the progression with several successive hits and begins to buck.
Related articles
-
Chassis special part 1: motorcycle suspension
fact accesories landing gear & Spring elements Chassis special part 1: motorcycle suspension Chassis special: suspension Everything about motorcycle…
-
Introduction of chassis tuning
fact 12th pictures Edge 1/12 The strut sits on the right outside of the chassis without any deflection. In the limited edition an Ohlins TTX36. Cook 2/12…
-
counselor workshop Service: chassis Service: chassis Schnick, click and clack Content of In order to make it a little easier for our readers with an…
-
Chassis special: Part 6 – Troubleshooting the front of the vehicle
archive accesories landing gear & Spring elements Chassis special: Part 6 – Troubleshooting the front of the vehicle Suspension special: troubleshooting…
-
The technology of the chassis and suspension
Bilski counselor technology & future The technology of the chassis and suspension Technology: rear wheel The technology of the chassis and suspension…
-
Chassis Special: Part 5 – Troubleshooting and Basics
Jahn accesories landing gear & Spring elements Suspension special: Part 5 – Troubleshooting and basics Suspension special: troubleshooting and basics…
-
Chassis special: Part 2 – fork damping
fact accesories landing gear & Spring elements Chassis special: Part 2 – fork damping Chassis special: fork damping Front wheel damping – the dream setup…
-
Technology: suspension and chassis
fact accesories landing gear & Spring elements Technology: suspension and chassis Technology: suspension and chassis New trend: Big Piston Fork New trend…
-
ZF equips Betamotor off-road bikes with chassis technology
beta accesories landing gear & Spring elements ZF equips Betamotor off-road bikes with chassis technology ZF equips off-road bikes Beta engine: perfectly…
-
WP Suspension new road chassis
WP suspension accesories landing gear & Spring elements WP Suspension new road chassis WP Suspension Apex Pro and Xplor Pro New chassis for street bikes…