Table of contents
counselor
workshop
Chain locks
Chain locks
Chain locks
In most cases, it is a hell of a job to replace an endless chain: remove the rear wheel, loosen the shock absorber (s), remove the swing arm, remove the chain, insert the chain and put the whole thing back together in reverse order.
02/25/2003
In most cases, changing an endless chain is a hell of a job: remove the rear wheel, loosen the shock absorber (s), remove the swing arm, remove the chain, insert the chain and put the whole thing back together in reverse order. The assembly of an open chain and a chain lock takes much less time, because in principle nothing has to be unscrewed and reassembled. And if the old chain is endless, it is simply flexed or sawn through.
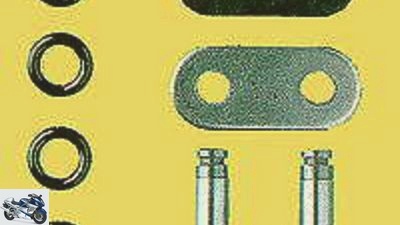
There are clip, screw or rivet locks to close the open chain. As a precaution, clip locks should only be mounted on motorcycles up to 34 HP, while screw locks and rivet locks can handle significantly more power. Incidentally, the patented screw locks are only available from Langenscheidt and Motorrad-Schuller. When it comes to rivet locks, a distinction is made between tubular rivet locks and solid rivet locks: The hollow rivets are spread with a mandrel, while the solid rivets are flattened – for both you need a special tool.
Clip lock
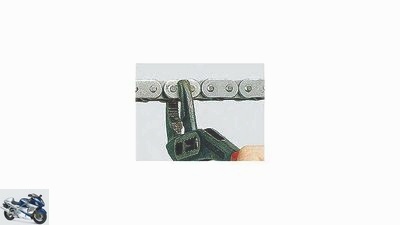
1. First connect the chain ends placed on the chain wheel. Then press on the tab with the pliers – don’t forget the O-rings beforehand.
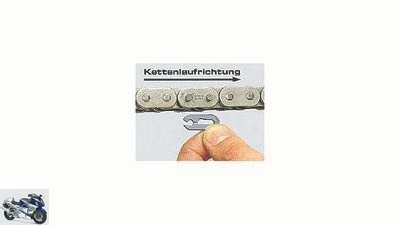
2. When the plate is pressed on far enough (grooves become visible), attach the clip – it is essential to note the direction in which the chain runs.
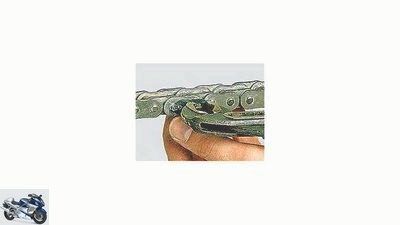
3. The clip is now pushed on with the pliers. The pliers should be of good quality, otherwise it is easy to squeeze your fingers.
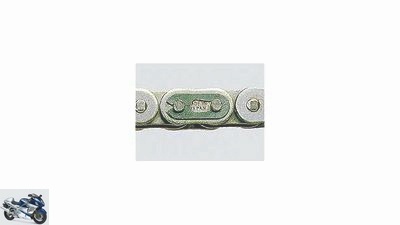
4th. This is how the clip sits correctly: This shows that it closes correctly on the left and that it snaps into place when it is put on.
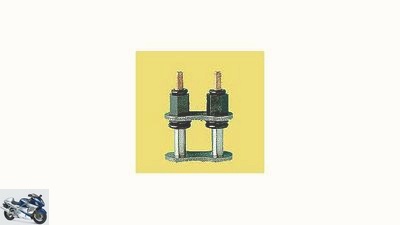
Screw lock

1. With the screw lock, the tab is not pressed on with pliers, but with figure eight nuts. Again, don’t forget to slide the O-rings on beforehand.
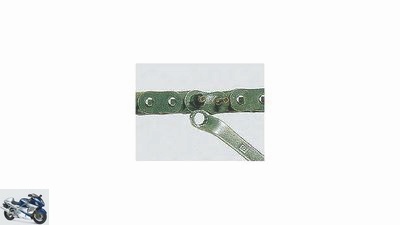
2. The nuts are tightened until the tabs are aligned, but the O-rings are not yet squeezed – check every now and then.

3. After careful and even tightening, both threads are kinked at the predetermined breaking point – only shown here on one.
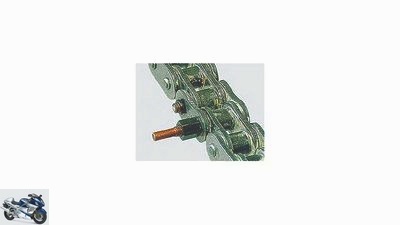
4th. Last but not least, the small O-ring is placed in the remaining groove to protect against dirt. The same procedure is then carried out on the other pin.
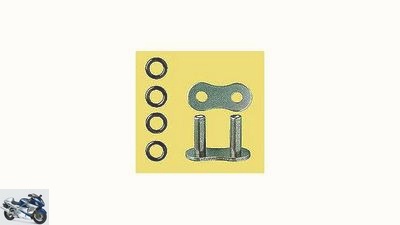
Hollow rivet lock
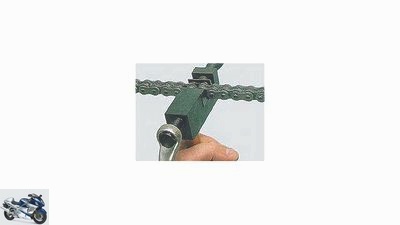
1. Here the tab is pressed on using the Gericke tool for RK chains (139 marks, as of 1995). Remember the O-rings.
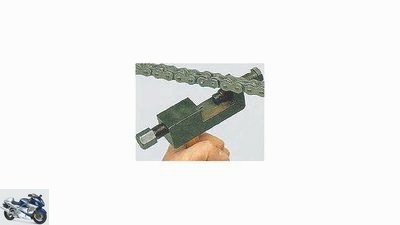
2. The press-on plate comes off, the expanding mandrel becomes visible. This is used to pierce the hollow rivet. The tool is also good for cutting.
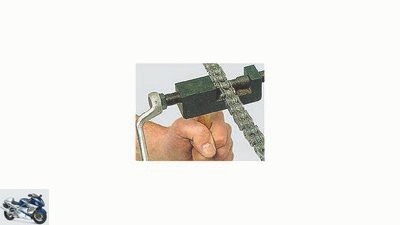
3. By piercing the rivet, it is widened – a slight widening of the rivet is sufficient for a secure fit.
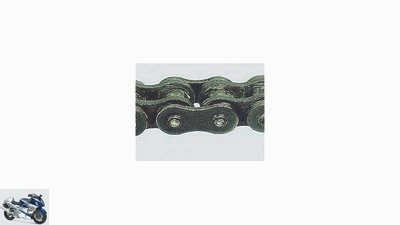
4th. Done: The difference to the non-expanded state is barely noticeable. But it lasts, and it’s relatively easy to use.
Related articles
-
counselor workshop Change chain kit Change chain kit Change chain kit Worn drive chains usually draw attention to themselves when driving with cracking…
-
Advice: replace chain and sprockets
Schermer 5 pictures 1/5 The chain can be professionally riveted using a special tool (from around 100 euros). 2/5 Before installing the new chain kit,…
-
counselor workshop Change chain set Change chain set Replace the pinion, toothed wheel and drive chain Regular chain maintenance can delay the moment of…
-
Tension the chain correctly – it’s all about tension
mps photo studio counselor workshop Tension the chain correctly – it’s all about tension Tension the chain properly It’s all about the tension Is the…
-
Tips for mechanics – correct motorcycle chain maintenance
Photo: Ralf Petersen 13th pictures Ralf Petersen 1/13 / 1 / A typical lack of maintenance: everything sparkling clean, even the chain. Ralf Petersen 2/13…
-
D.I.D. VR46: Valentino Rossi motorcycle chain
manufacturer accesories Accessories A-Z D.I.D. VR46: Valentino Rossi motorcycle chain D.I.D. 520 VR46 and 525 VR46 Valentino Rossi motorcycle chain The…
-
26 motorcycle locks tested (2016)
Dentges 38 pictures Dentges 1/38 MOTORRAD took 26 locks to the A. Wendt company in Bergheim (www.zieh-fix.com). Company founder Adalbert Wendt (2nd from…
-
Maintenance and care of chain, cardan shaft, toothed belt
Ralf Petersen 15th pictures Ralf Petersen 1/15 Chain, cardan or toothed belt differ not only in their functionality, but also in terms of maintenance and…
-
Test winner motorcycle locks (MOTORRAD 2-2016)
mps studio accesories Test winner motorcycle locks (MOTORRAD 2/2016) Test winner motorcycle locks (MOTORRAD 2/2016) Burg-Wachter Gamma 700 / GKM 10/150…
-
Regina High Performance Endurance: Maintenance-free chain for everyone
Regina accesories Accessories A-Z Regina High Performance Endurance: Maintenance-free chain for everyone Regina High Performance Endurance…