Table of contents
counselor
workshop
Change chain kit
Change chain kit
Change chain kit
Worn drive chains usually draw attention to themselves when driving with cracking noises when rolling or a loud rattle.
02/25/2003
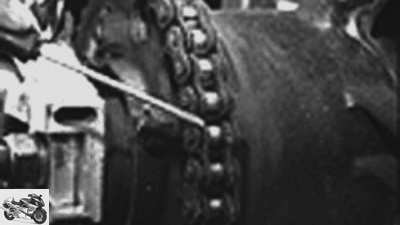
Worn drive chains usually draw attention to themselves when driving with cracking noises when rolling or a loud rattle. If the chain can then be lifted more than three millimeters from the sprocket while standing or if the chain tension changes very significantly when the rear wheel is turned, the time has come again: The chain must be changed.
In the vast majority of cases, the sprocket and sprocket also have to be replaced during this action – after all, the service life of the new chain would only be very short if it had to run on parts that are already worn. So it is worth taking a closer look at the teeth: Are they even slightly washed out or shrunk or even have the notorious? “Shark shape” on, these parts also need to be replaced. Complete kits are available as original spare parts or from accessory stores.
If a chain with a lock is installed, changing the chain kit is comparatively easy, as the swing arm can remain installed during installation. Many chain kits from the accessories are therefore supplied with screw locks. These are absolutely safe when correctly installed and in any case, locks with safety clips should be preferred – these should be reserved for bicycles. When using an endless chain, on the other hand, nothing helps: the swing arm has to come out. The workload is now significantly higher. It gets particularly complicated with motorcycles without a main stand, as the engine has to be cleverly supported here. But: Many screwdrivers simply feel better when they don’t have to lock the chain themselves.
But regardless of whether the new chain is to be an open or an endless version, an O-ring version should be used in any case. It lasts at least twice as long as a conventional chain – but luckily it doesn’t cost twice as much. Even with an O-ring chain, there is no avoiding lubrication. Because here, too, the following applies: Regular maintenance significantly extends the chain life. The next change is sure to come. Just later.
If a chain can be lifted more than three millimeters from the sprocket, this is a sign that the chain kit (pinion, chain and sprocket) needs to be changed. Even chain tensioners that are extremely far back indicate an advanced stage of wear. And if the links in the drive chain can only be moved unwillingly, the healing plan is also: change.
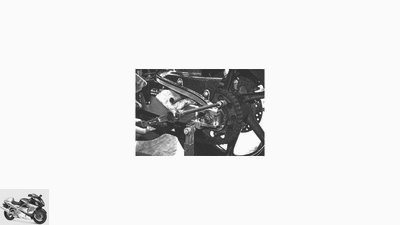
Loosening the fastening screws of the sprocket can also be done with the rear wheel installed, but this is easiest. The rear wheel is blocked with a metal tube that is inserted through the cast spokes of the rear wheel and rests on the swing arm. Wire-spoke wheels require an assistant to operate the rear brake and thus lock the wheel.
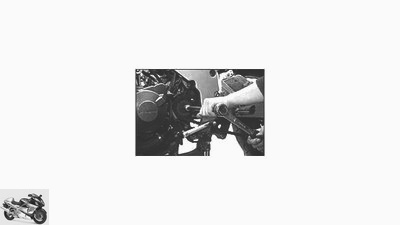
Often forgotten: The screw connection of the pinion on the transmission output shaft can only be loosened reasonably easily when the rear wheel is blocked and the chain is still in place. In most cases, the pinion is fastened to the pinion by a central nut with a locking plate, a central screw or a toothed locking plate, fixed by two screws.
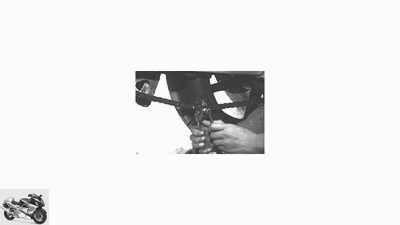
With the upcoming assembly of an open” Chain (with a lock), the assembly effort is kept within limits, since the swing arm can remain installed. The old endless chain can be separated with a rivet puller – with this one of the bolts that hold the chain links together is pushed out of the bracket. The safety clip of the old open chain is removed with pliers.
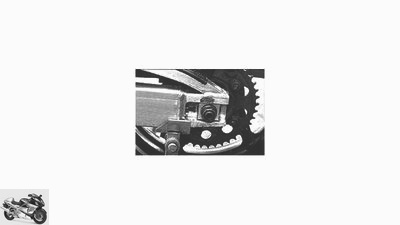
When removing the rear wheel, make sure that the chain tensioner is loosened very far so that the new, significantly shorter chain will fit without any problems during later installation. And only in this position can an old endless chain, if it has not been separated beforehand, be lifted off the sprocket so that the rear wheel can be removed.
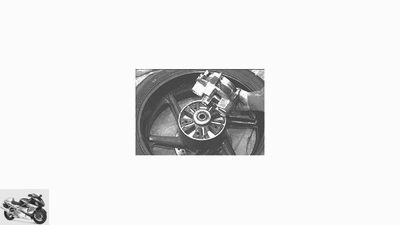
With the rear wheel removed, the sprocket carrier can be removed from the shock absorbers. The carrier should sit tightly in the rubber buffers, otherwise it is advisable to replace the rubbers. You can also use this opportunity to check the wheel bearings – it must not be hooked when spinning. Attention: There is a spacer sleeve between the chain wheel carrier and the wheel bearing.
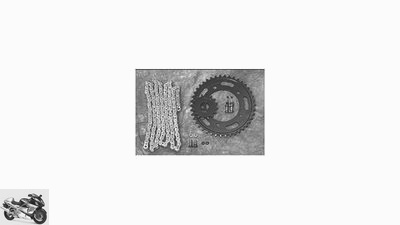
Control is better: Before installing the new parts, you should check that the pinion and chain wheel are identical to the old parts and that the number of chain links is identical. The easiest way to do this with pinions and sprockets is to place old and new parts on top of each other. The only thing that helps with the chain is counting, as the old chain is longer due to the stretching despite the same number of links.
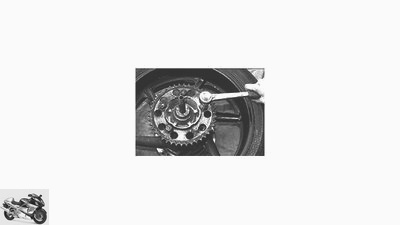
To assemble the new sprocket, the sprocket carrier is put back into the shock absorber of the rear wheel – for a better hold with the axle. In order to achieve an even seat of the sprocket, the nuts are tightened crosswise. Later, as a precaution, check that the nuts are firmly seated again with the rear wheel installed and locked – with the chain in place, of course.
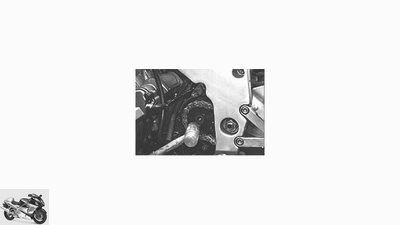
Then the rear wheel is installed and the new chain is first pulled over the sprocket and swing arm and then over the pinion – only then does the pinion come onto the shaft. Since the teeth of the pinion and shaft are worked against each other with as little play as possible (otherwise they would widen quickly when the load changes), a plastic hammer may have to help carefully.
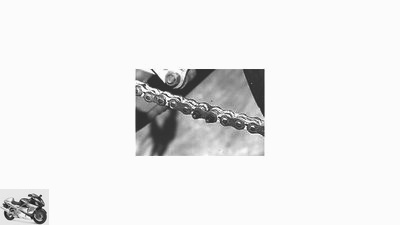
The rear wheel must now be as far forward as possible (loosen the chain tensioner, if not already done), then the two chain ends can be connected to the chain lock at the lower slack. Now put the O-rings and the outer plate on it, then the rear wheel is rotated until the connecting link is in the most easily accessible place on the sprocket.
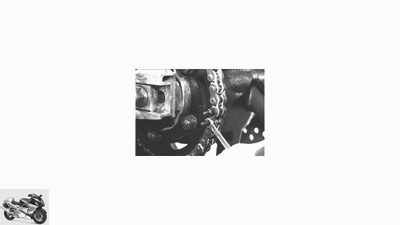
In the case of screw locks, the nuts are now screwed onto the studs and tightened evenly until the outer plate is snug – but be careful: not so far that the O-rings are crushed. In the case of chains with a safety clip, this must be attached so that the closed side points in the direction of movement of the chain – it is pushed on with pliers (check fit).
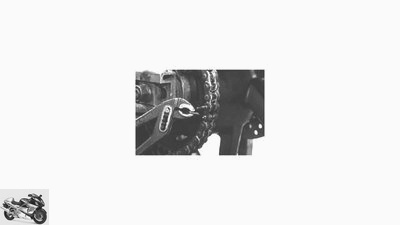
After pressing on, the nuts come off the bolts again, then the bolts are kinked with water pump pliers. The correct assembly of a rivet lock, however, is not that easy, because for this you need a special device which, at at least around 100 marks, is not cheap and also not as easy to use as a screw lock.
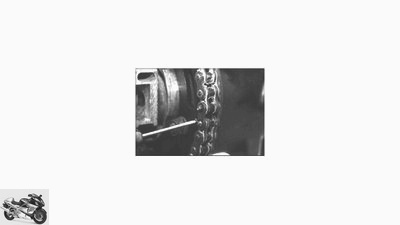
Finally, the small retaining rings are pushed into the grooves provided for them. If the protruding remains of the bolts are too long (for example because they rub when the wheel is spinning), they can be pounded flat with a hammer or removed with a file. Now all you have to do is adjust the chain play, retighten all loose connections – and you’re done.
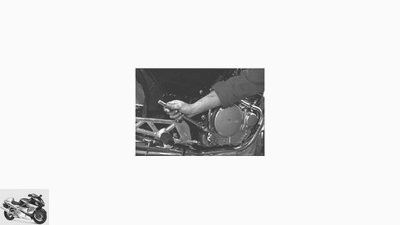
Unfortunately, when installing an endless chain, the swing arm has to be removed. To do this, the rear wheel is removed and the shock absorbers released (only at the upper or only at the lower fastening points, depending on accessibility). Loosen the nut of the swing arm and, while shaking the swing arm, drive out the axis with gentle blows with a rubber mallet.
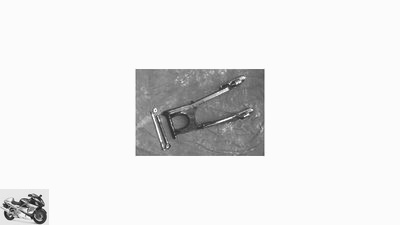
If the swing arm is already out, the bearings should also be checked at the same time. Of course, cleaning is now also much easier. Then slide the chain together with the pinion onto the gear shaft – and when you reinstall the swing arm, don’t forget to push the inconspicuously hanging chain over the swing arm.
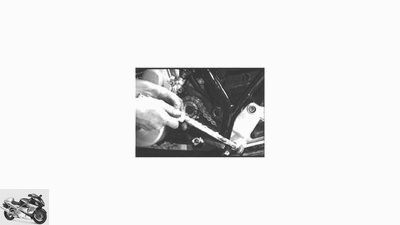
Carefully clean the swing arm from old grease and lubricate it with fresh bearing grease. Note the installation direction of the axis and tighten with the prescribed torque. Re-attach the struts and install the rear wheel as described above and tension the chain. Then check all screw connections again for their tightness.
Related articles
-
counselor workshop Chain locks Chain locks Chain locks In most cases, it is a hell of a job to replace an endless chain: remove the rear wheel, loosen…
-
Advice: replace chain and sprockets
Schermer 5 pictures 1/5 The chain can be professionally riveted using a special tool (from around 100 euros). 2/5 Before installing the new chain kit,…
-
Tips for mechanics – correct motorcycle chain maintenance
Photo: Ralf Petersen 13th pictures Ralf Petersen 1/13 / 1 / A typical lack of maintenance: everything sparkling clean, even the chain. Ralf Petersen 2/13…
-
counselor workshop Change chain set Change chain set Replace the pinion, toothed wheel and drive chain Regular chain maintenance can delay the moment of…
-
Maintenance and care of chain, cardan shaft, toothed belt
Ralf Petersen 15th pictures Ralf Petersen 1/15 Chain, cardan or toothed belt differ not only in their functionality, but also in terms of maintenance and…
-
Tension the chain correctly – it’s all about tension
mps photo studio counselor workshop Tension the chain correctly – it’s all about tension Tension the chain properly It’s all about the tension Is the…
-
Technology: The load change on a motorcycle
Drawing: archive counselor technology & future Technology: The load change on a motorcycle Technology: motors / drive The load change on a motorcycle…
-
Change brake discs yourself – tips and tricks
Markus Jahn 9 pictures Ralf Schneider 1/9 There is a need for action here! The heat spots on the panes shown on the left can certainly no longer be…
-
counselor workshop Chain: change the translation Chain: change the translation Chain: change the translation Anyone who changes the pinion, sprocket or a…
-
Screwdriver tip oil change and oil level check
Photo: mps photo studio 14th pictures Honda 1/14 Screwdriver tip – oil change and oil level check. Ralf Petersen 2/14 Preparation: All of this is needed….