Table of contents
- This is how it works: derust the tank How do I get rid of the rust?
- Step 1
- step 2
- step 3
- Step 4
- Step 5
- Step 6
- Step 7
- Step 8
- Step 9
- Step 10
- Step 11
- Specialist address box

counselor
workshop
This is how it works: Remove rust from the tank
This is how it works: derust the tank
How do I get rid of the rust?
Rotten fuel containers don’t have to give way to a new part – specialists whip most rusty containers back into shape.
07.09.2009
Anyone who thinks that only vintage tanks are affected by rust is wrong. Often it is only a few years old motorcycles that suddenly start to stutter because rust particles peeling off from the inside of the tank interrupt the spray supply. A look through the filler neck with the help of a flashlight should therefore be part of the standard inspection every time you buy a used motorcycle. And if the visual inspection reveals rust at some point, it is best to take care of it right away.
Before a specialist company (see address box) can begin with the restoration, some work is necessary on their own. The tank must first be completely emptied. If the fuel tap is not at the lowest point, the remaining fuel should be sucked off with a pump.

Visual guidance: In order to really discover every nest of rust in the tank, no matter how hidden, the tank specialists use a whole battery of mostly self-made mirrors.
Then remove the tank cap and fuel tap and rinse the tank thoroughly with water and washing-up liquid to neutralize the gasoline vapors (only at washing areas with an oil separator!). The container must then be dried completely. For example, a hair dryer that is not set too hot is suitable for this. And after the restoration, owners should make sure that the fuel tank is as full as possible during long periods of inactivity. This ensures a smooth coating, prevents it from drying out and thus effectively prevents renewed rust.
Step 1
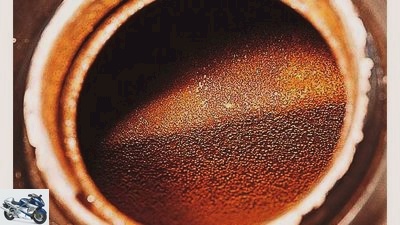
At the beginning of the restoration work there is an incoming inspection by a specialist to determine the extent of the corrosion.
step 2
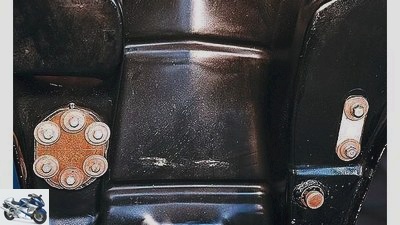
Then the preparation for the caustic bath follows. For this purpose, all openings on the underside of the tank are closed with special sealing plates.
step 3
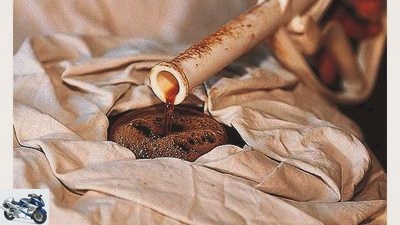
The tank is then filled with hot lye up to the top edge of the filler neck. Several layers of cloths keep the tank and lye warm for a long time. The lye is used for degreasing and normally remains in the fuel reservoir for around two to three hours. For tanks with a coating on the inside ex works, such as older BMW models, the exposure time for the lye is extended up to seven days (if the old coating cannot be completely removed with scrapers, the lye bath must be repeated, sometimes even several times ).
Step 4
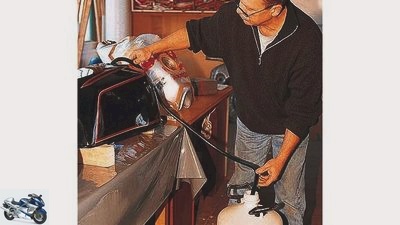
After sufficient exposure time, the lye is drained off again, the tank rinsed out thoroughly and then completely dried with a hot air blower (time required about an hour).
Step 5
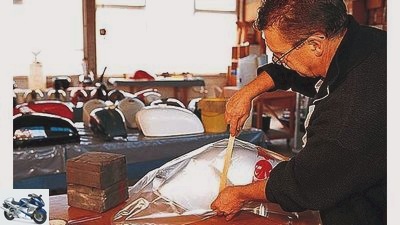
Tanks with an undamaged exterior are always covered with a padded protective cover in order to avoid damage during the subsequent blasting work.
Step 6
For the blasting work, which can take between three and six hours, the specialist companies have innumerable, sometimes bizarrely shaped, self-made blasting nozzles ready to be able to fight rust even in hard-to-reach corners. A mixture of chilled cast iron, the mineral corundum and blast furnace slag is used as the blasting agent. It is important to constantly monitor the blasting work so that there are really no rust nests left in corners, nooks and crannies or edges.
Step 7
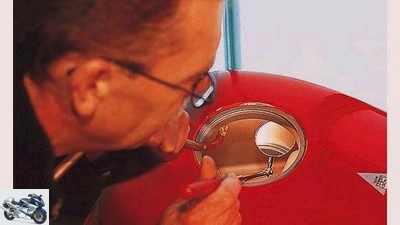
The visual inspection is carried out like at the dentist with the help of a whole arsenal of mirrors and a halogen lamp. Then the container is freed from the blasting agent with a strong suction device, supported by shaking and tapping the tank folds with a rubber mallet. Then the lower openings are closed again with the sealing plates and the container is rinsed with acetone to remove the last granules and grease residues. This is followed by an intermediate rinse, a neutralization bath and a drying phase lasting several hours.
Step 8
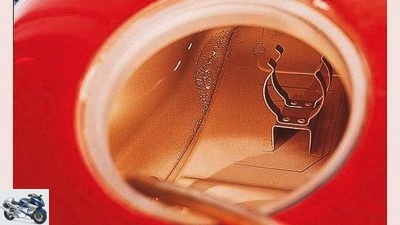
After this procedure no rust can be seen inside the tank. In the depicted fuel tank of a Ducati 900 SS, the advanced corrosion has already led to the formation of holes. In such cases, additional work such as welding or soldering is required.
Step 9
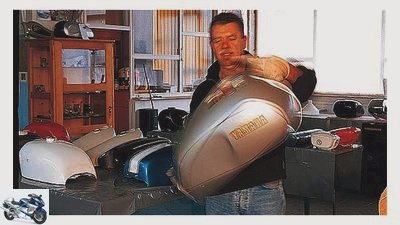
If the hole is in a place that is visible from the outside, painting work is also required. Two to three liters of synthetic rubber-based sealing wax are sufficient to seal the tank. The completely sealed tank is now moved in all directions for about five minutes so that all parts of the inside are covered by a layer of lacquer.
Step 10
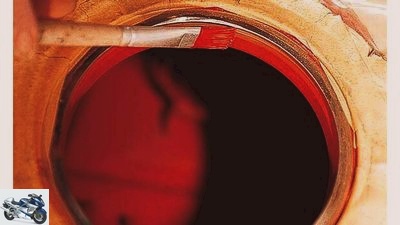
Excess material must be emptied immediately. A vacuum suction device is also used to prevent puddles from forming. Then the filler neck and the transition areas on the fuel tap are painted with a brush and the tank is immediately dried with a hot air blower for around 50 minutes.
Step 11
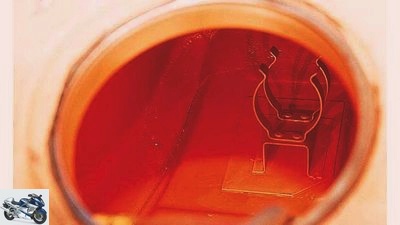
At the end of the work, the tank is placed in the drying room, where it can harden for three days. The result can now be seen: rust will no longer stand a chance here anytime soon.
Specialist address box
- Ammon technique,
Telephone 09721/41455,
www.ammon-technik.de - Theo Daschlein,
Telephone 09822/7556,
www.daeschlein.de - Kuhlerbau Spannagel,
Telephone 0621/728000,
www.kbs-spannagel.de - Plastec plastic welding technology,
Telephone 0211/7881414,
www.tankreparatur.de - Motorbike Stemmler,
Telephone 02191/53067,
www.motorrad-stemler.de - Tank specialist, Roland Behrend,
Telephone 05932/7355288,
www.tank-spezialist.de - Company white,
Phone 069/42602760,
www.beule-im-tank.de
Related articles
-
This is how it works: Replace the seat
Bilski counselor workshop This is how it works: Replace the seat That’s how it’s done Renew the seat Come on: shift your frustration to your old bank….
-
This is how it works: Adjust the spring base yourself
accesories landing gear & Spring elements This is how it works: Adjust the spring base yourself This is how it works: Adjust the spring base Adjust the…
-
This is how a tempo control works
Bilski counselor traffic & business This is how a tempo control works This is how a tempo control works What if it flashes red? Then comes a ladle or…
-
This is how it works: motorcycle care
accesories This is how it works: motorcycle care This is how it works: motorcycle care With these tips, your motorcycle will sparkle again as if it were…
-
This is how you prepare your motorcycle for the winter break
Andreas Bildl 13th pictures Petersen 1/13 Step 1: Big Wash – Thoroughly clean the motorcycle before winter. Petersen 2/13 Step 2: Jacked up – with more…
-
This is how it works: Transport the motorcycle
Motorcycle transport solutions Caravans, mobile homes, trailers, transport systems archive counselor workshop This is how it works: Transport the…
-
Balancing motorcycle tires – this is how it works
wolf 8th pictures wolf 1/8 Haweka balancing professional Uwe Westermann at the versatile Bike Boss Louis 2/8 Static yes, dynamic no: balancing stands…
-
Here’s how it works: mothballing
archive counselor workshop Here’s how it works: mothballing Mothball the motorcycle Winter break If you don’t want to use your motorcycle for some time,…
-
This is how the new super sports technology works
Suzuki 20th pictures Suzuki 1/20 The Suzuki GSX-R combines high tech with clever engineering. Suzuki 2/20 This centrifugal force mimic adjusts the timing…
-
This is how it’s done: motorcycle helmets
Bilski 16 pictures Bilski 1/16 (8) The outer shells of the thermoplastic helmets are roughened by hand… Bilski 2/16 (12) The inner parts of the helmets…